Getting started with SKID AI
SKID AI is a unified AI studio for making images, video and sound in one place. This guide walks through every screen you see after signing in. For each screen you'll find what it is, what it does and how to use it, shown with real screenshots.
Download PDFDiscover (dashboard)
The first screen after you sign in. The top menu takes you anywhere, and the input box in the middle lets you start a task right away.
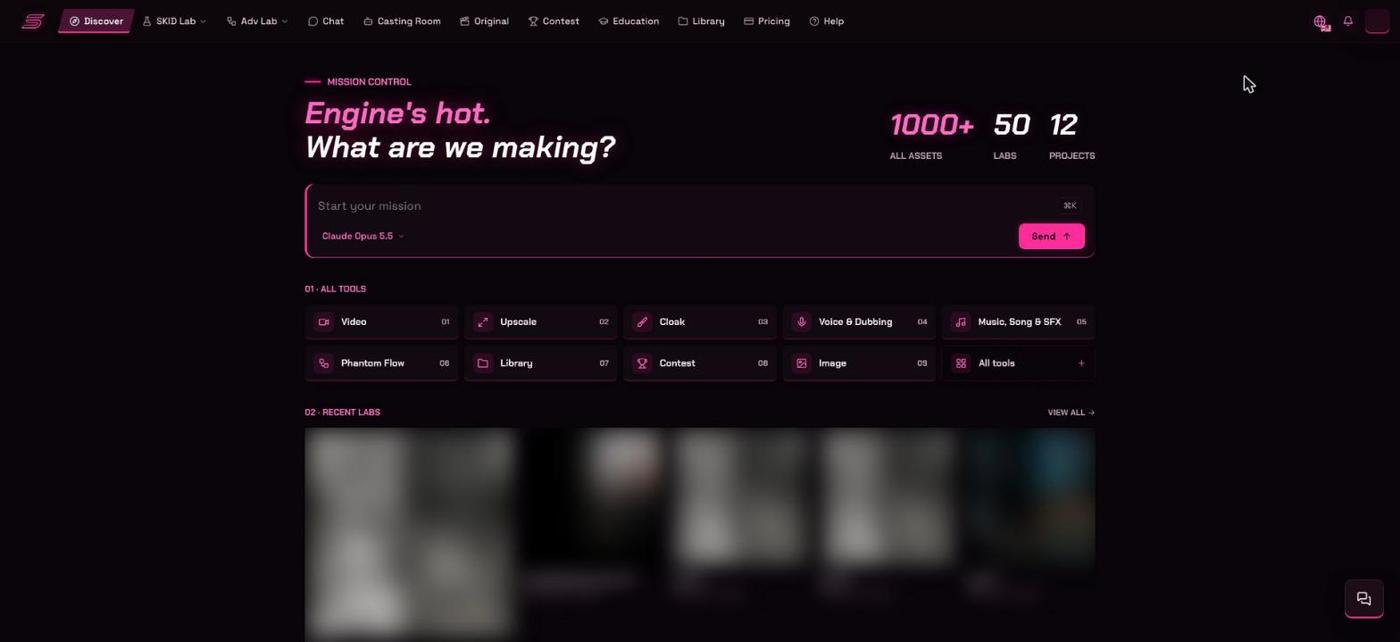
- Top menu: Discover, SKID Lab, Adv Lab, Chat, Casting Room, Original, Contest, Education, Library, Pricing, Help.
- Type what you want to do in 'Start your mission', pick a model and press Send. It continues in AI chat.
- The 'All tools' cards jump straight to Video, Upscale, Cloak, Voice & Dubbing, Music, Song & SFX, Phantom Flow, Library, Contest and Image.
- 'Recent labs' collects what you worked on lately. Click one to go back to that lab.
- At the top right: the globe icon switches language (English / 한국어), the bell opens notifications and the profile icon opens your account menu.
Image Lab
Create images from text and reference images. The large area on the left is your generation history; the panel on the right is where you set up a new one.
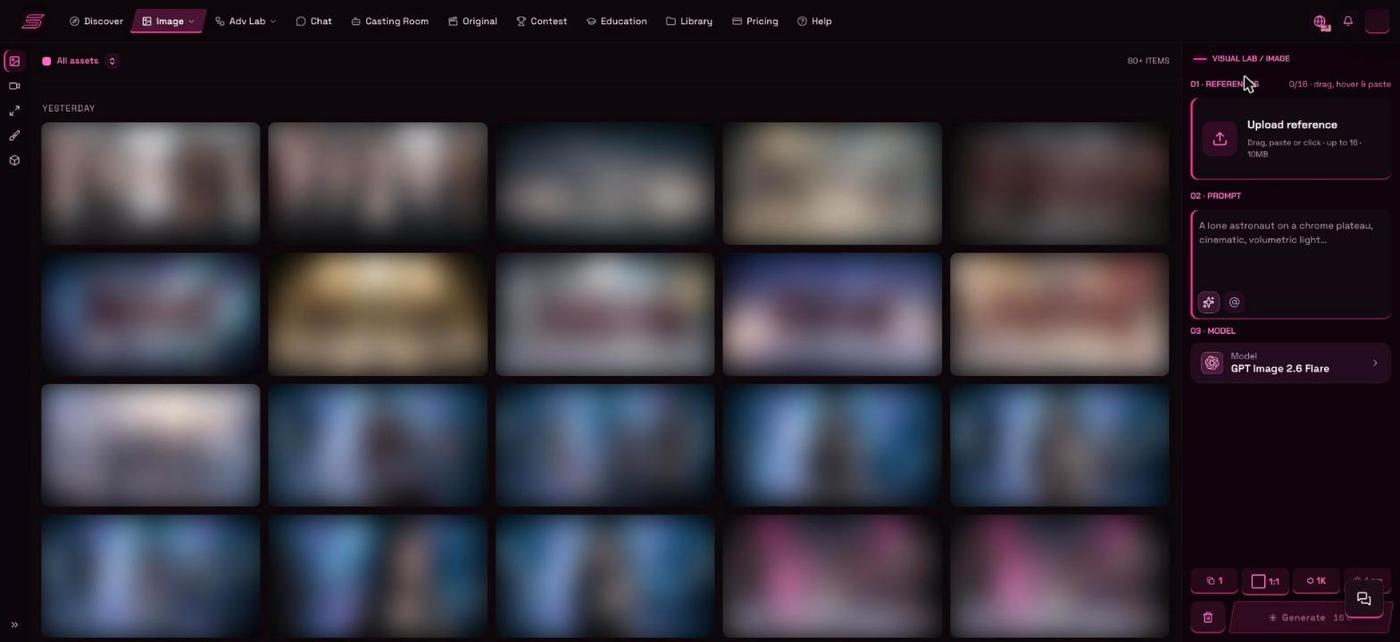
- 01 References: drag, paste or click to upload images. Up to 16 images, 10MB each.
- 02 Prompt: describe the scene. The @ button calls characters and backgrounds from your Library references, and the sparkle button polishes your prompt.
- 03 Model: click the model card to switch models. Credit cost differs per model.
- On the bottom row choose the number of images, aspect ratio (for example 1:1) and resolution (for example 1K).
- The Generate button shows the credits it will use. Results appear in the history and open larger when clicked.
Video Lab
Create video from text, or from image and video references. The layout matches Image Lab with options made for video.
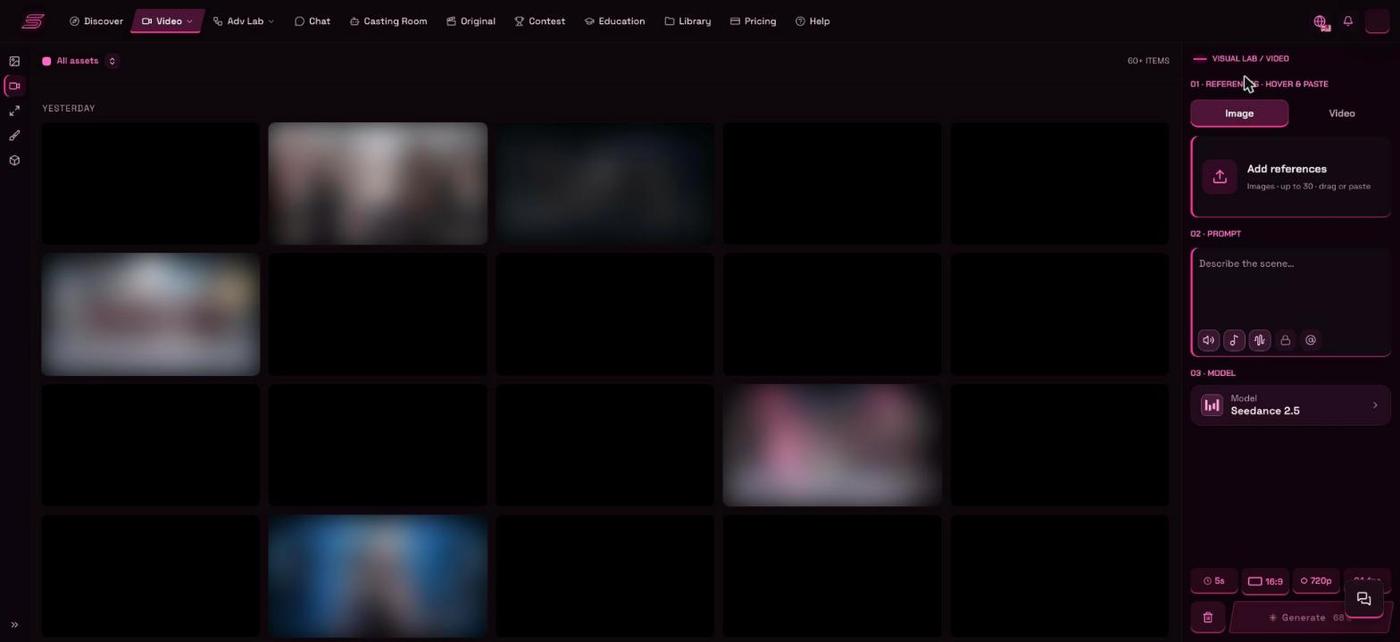
- 01 References: pick the Image or Video tab and add references. Images: up to 30.
- 02 Prompt: describe the scene and the motion. The icons under the box turn on audio options (sound, music, voice) and @ references.
- 03 Model: Seedance by default. Which models you can use depends on your plan.
- At the bottom choose duration (for example 5s), ratio (16:9) and resolution (720p).
- The Generate button shows the credits to be used. Video costs more than images.
Upscale
Make blurry images and videos sharp at 2K or 4K. The composition stays and lost detail comes back.
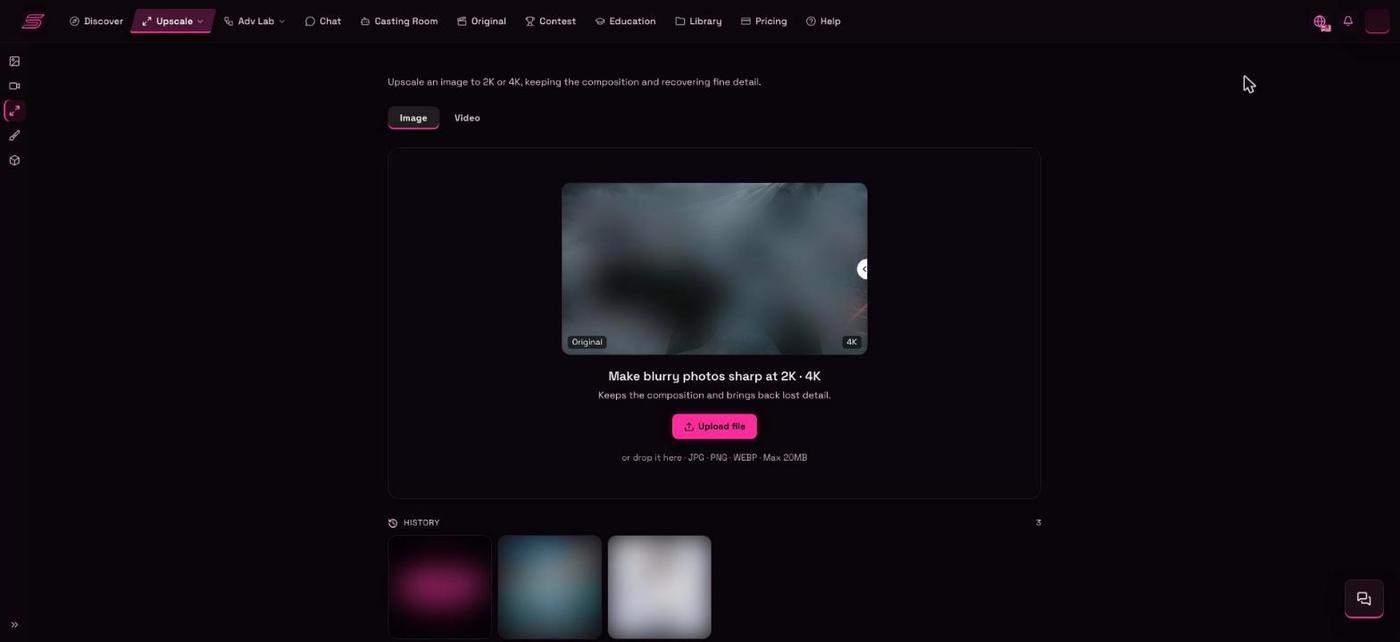
- Choose the Image or Video tab.
- Click 'Upload file' or drop a file. Images: JPG, PNG, WEBP, up to 20MB.
- Pick 2K or 4K and run it.
- Results collect in History below. Compare original and result with the slider in the preview.
Cloak
Paint only the part of an image or video you want to change and regenerate just that region.
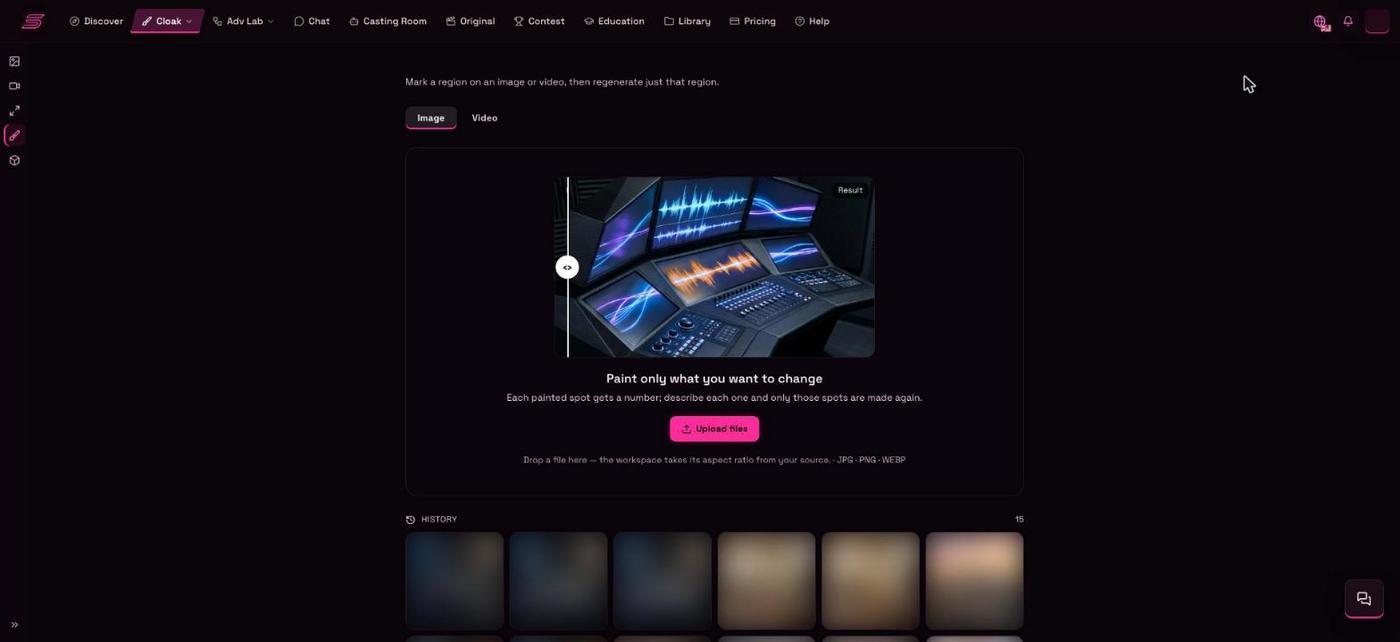
- Choose Image or Video and upload a file. The workspace takes its aspect ratio from your source.
- Paint the regions you want to change. Each painted spot gets a number.
- Describe what each numbered spot should become. Only those spots are made again.
- Reopen results any time from History.
Voice & Dubbing
Voice generation, voice change and dubbing in one place. History is grouped by date on top; the dock at the bottom is your input.
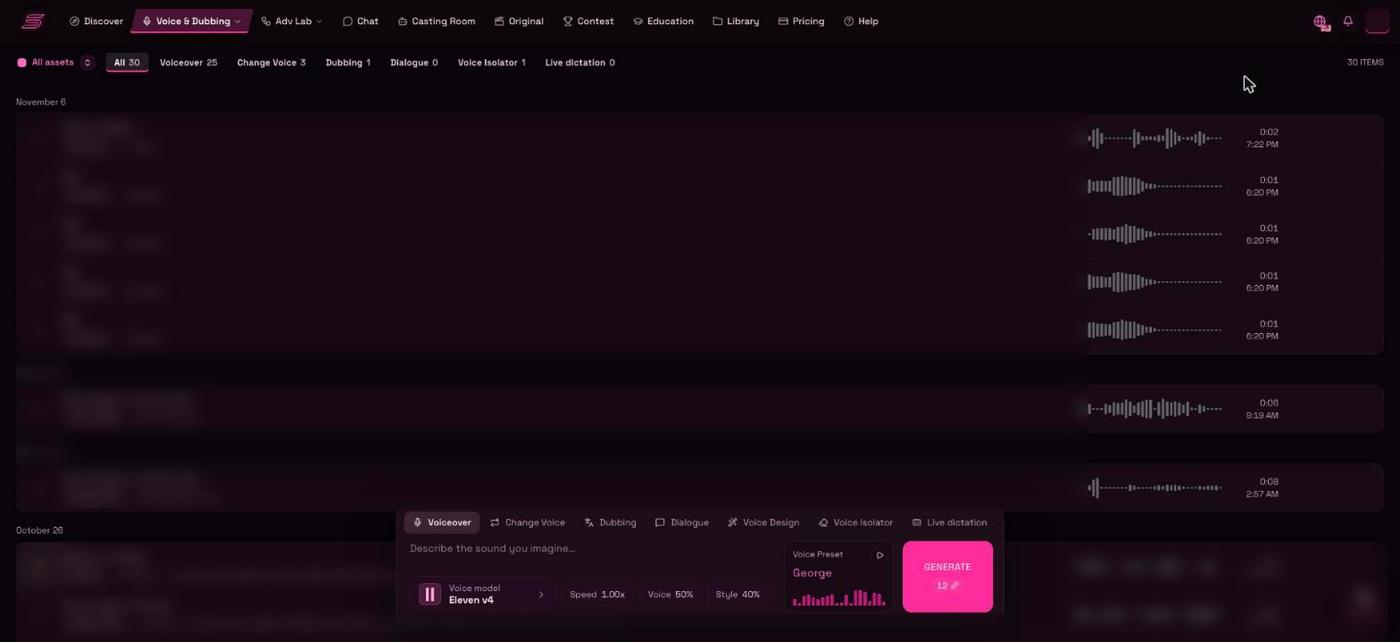
- Pick a function on the dock: Voiceover, Change Voice, Dubbing, Dialogue, Voice Design, Voice Isolator, Live dictation.
- Voiceover: type the line, choose a Voice Preset and a voice model (for example Eleven v4). Speed, Voice and Style can be adjusted.
- Dubbing: upload a video or audio file and choose the target language.
- Use the filters at the top (All, Voiceover, Change Voice, and so on) to browse history by type.
- Every item has a play button, with its length and time shown.
Music, Song & SFX
Create songs, background music and sound effects. Switch between Songs and Sounds with the tabs at the top of the right panel.
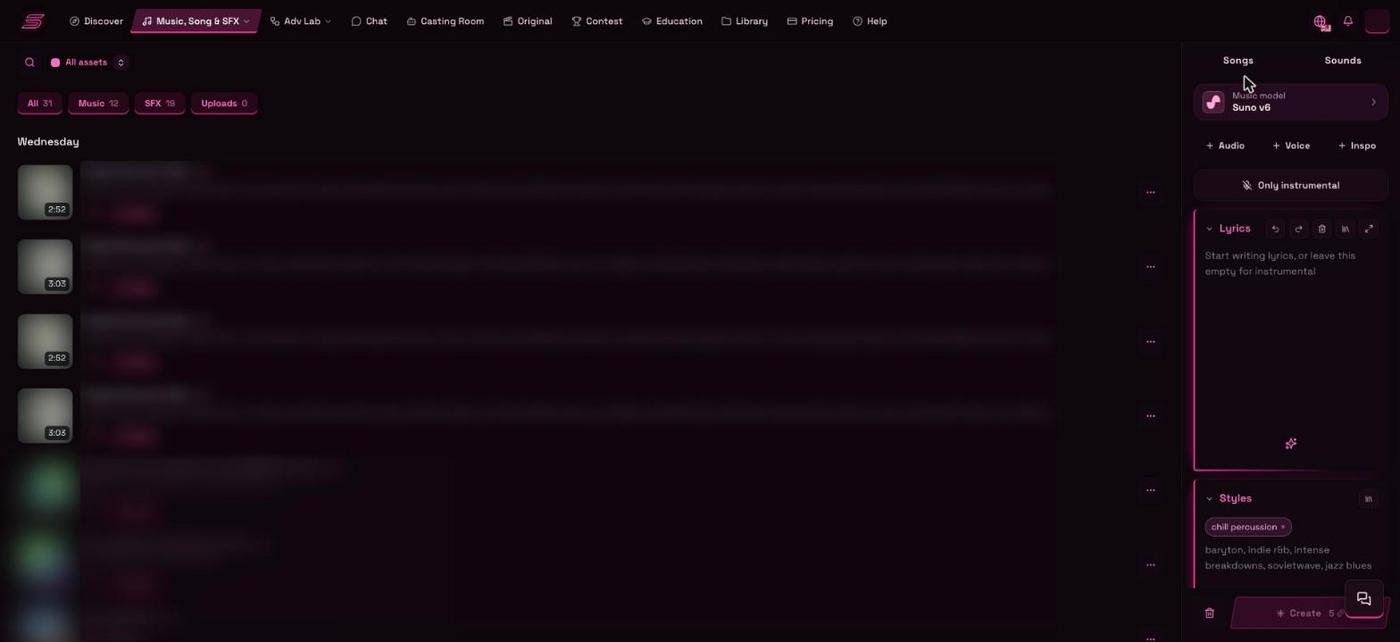
- Songs: choose a music model (for example Suno v6), then add lyrics and styles. Leave lyrics empty for instrumental.
- Turn on 'Only instrumental' for no vocals. + Audio, + Voice and + Inspo add reference sounds or voices.
- Add genre and mood keywords under Styles. The sparkle button helps with lyrics.
- Sounds: describe the effect you want in a sentence.
- The list on the left filters by All, Music, SFX and Uploads. Use the heart to favorite and Share to share.
3D Lab
Turn a single image into a 3D model you can rotate and download.
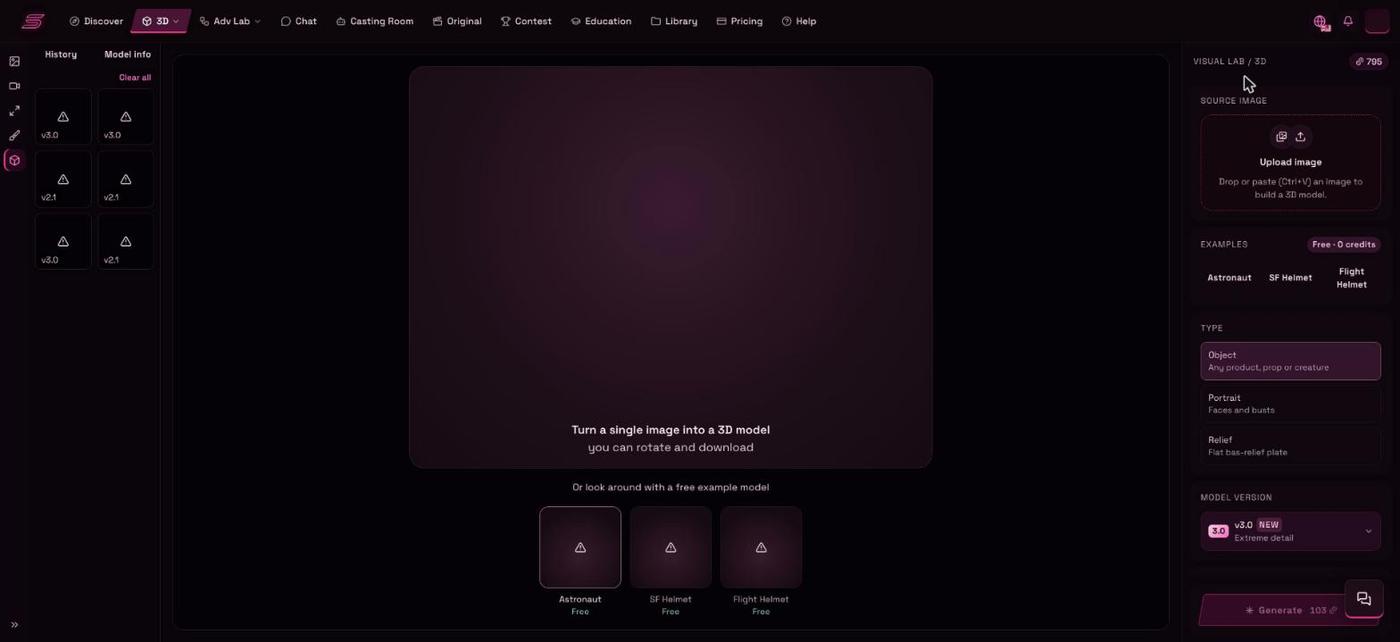
- Add an image under Source image, or paste it with Ctrl+V.
- Pick a Type: Object, Portrait or Relief.
- Choose a Model version (for example v3.0).
- The examples (Astronaut and others) are free and cost no credits. Try them first.
- Reopen earlier results from History.
Chat
Talk to several AI models. Use it for questions, writing, code review, summarizing documents and refining prompts.
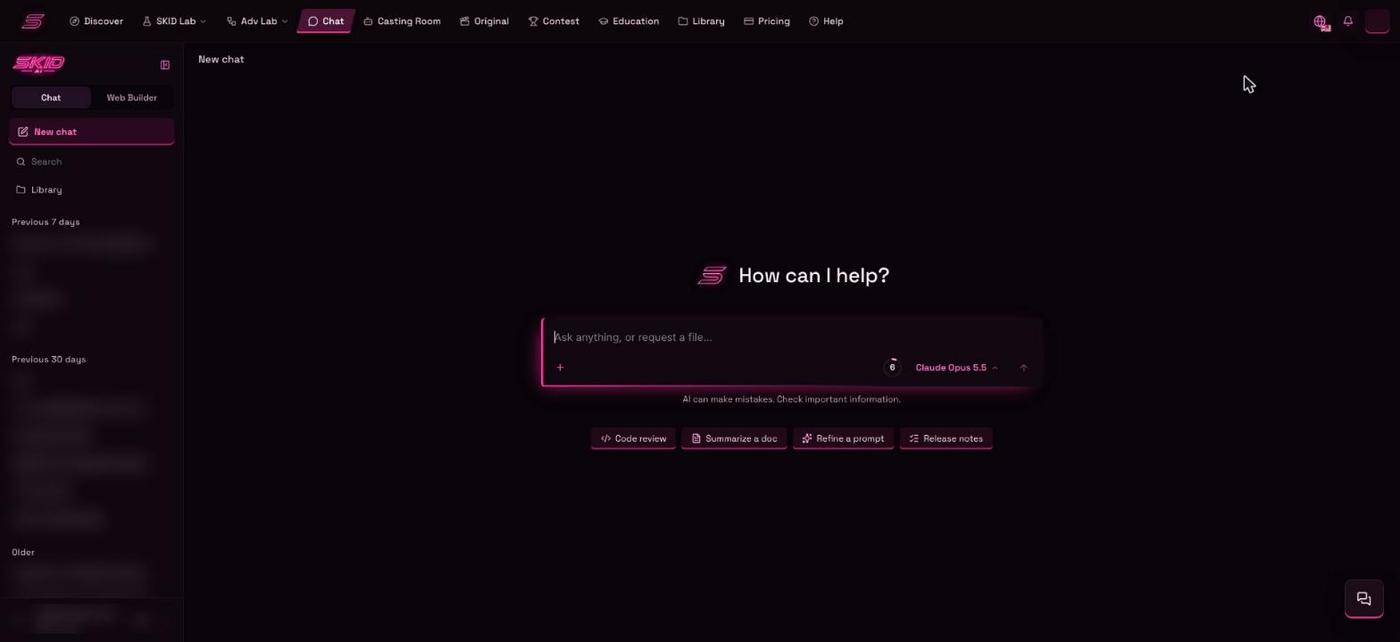
- The Chat and Web Builder tabs at the top left switch between conversation and building a site.
- 'New chat' starts a conversation. Older chats are grouped by period and can be searched.
- Type your question, attach files with the + button and click the model name on the right to change models.
- The suggestion buttons under the box (Code review, Summarize a doc, Refine a prompt, Release notes) get you started quickly.
- 'Library' on the left gathers what you made in chat.
Casting Room
Hire specialist bots and cast them into a production. The bots talk to each other to make the work together.
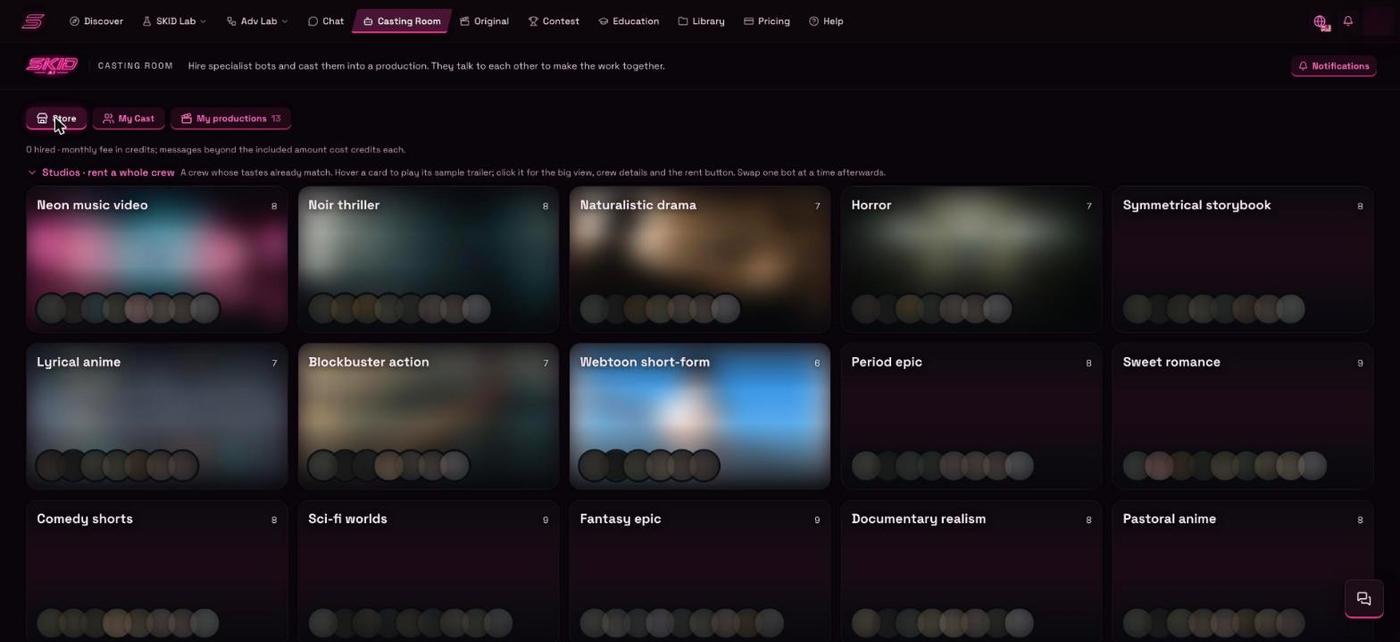
- Switch between Store, My Cast and My productions with the tabs.
- 'Studios' in the Store are whole crews whose tastes already match. Hover a card to play its sample trailer; click it for the crew details and the rent button. Examples: Neon music video, Noir thriller, Naturalistic drama, Horror, Lyrical anime, Blockbuster action.
- Bots are hired for a monthly fee in credits, and messages beyond the included amount cost credits each.
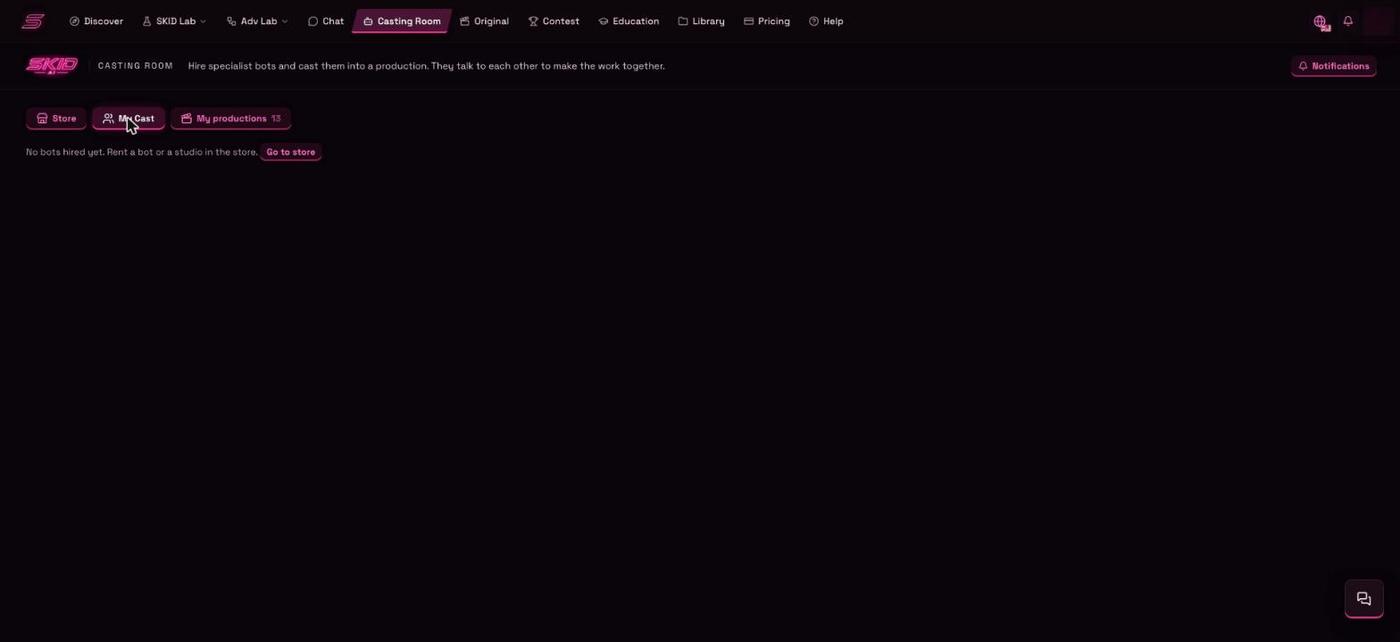
- Hired bots collect in My Cast, and you can swap one bot at a time afterwards.
- Continue work in My productions. Notifications at the top right shows updates.
Library
Everything you made lives here, organized into projects. Use the left menu to change how you browse.
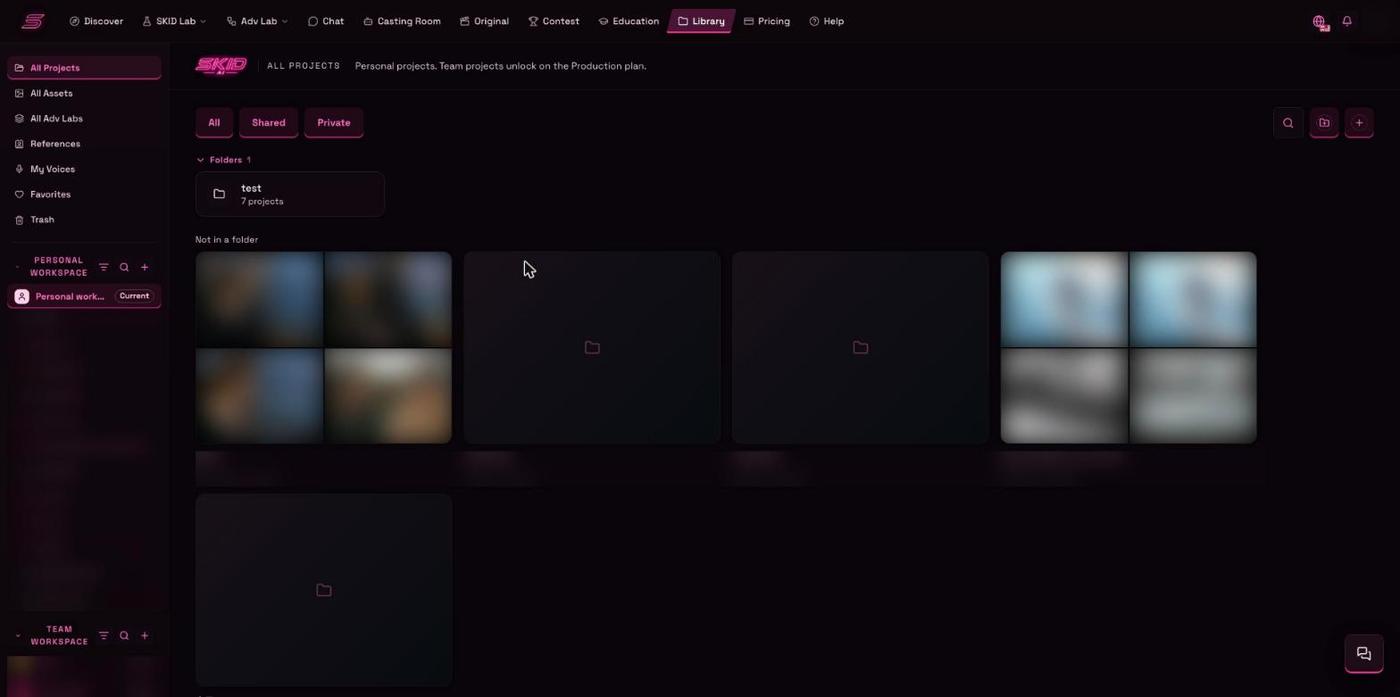
- All Projects: browse results by project and folder.
- All Assets: every image, video, music and voice result in one place.
- All Adv Labs: your Adv Lab work.
- References: register characters and backgrounds once and call them in any prompt with @name.
- My Voices: manage voices you made.
- Favorites: everything you hearted.
- Trash: deleted assets wait here. Restore them or clear them for good.
References (characters & backgrounds)
Register characters and backgrounds you use often. A registered name is called in prompts with @name.
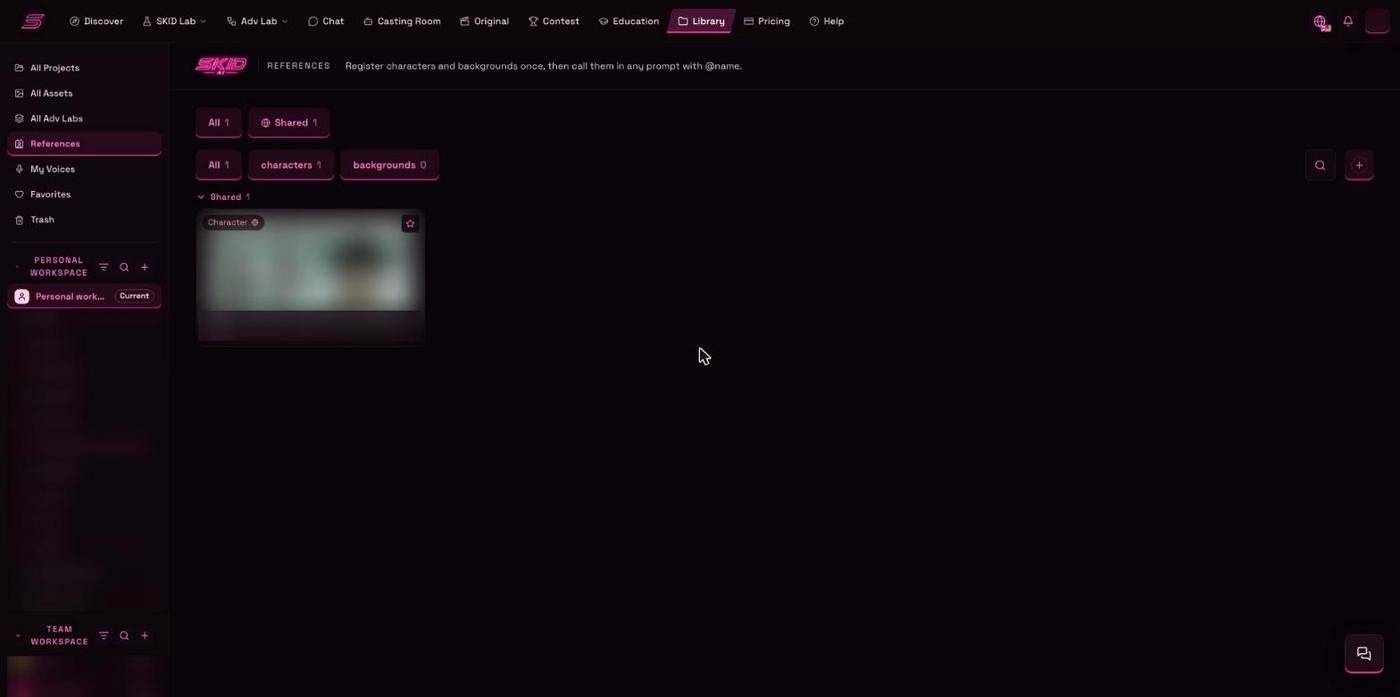
- Browse by All, characters and backgrounds. Shared references can be used by everyone.
- Use + at the top right to register a new reference and the magnifier to search.
- The star on a card adds it to favorites.
Favorites and Trash
Favorites are split into Images, Videos, Music and Voice & Dubbing. Tap the heart on any asset, lab history tile or canvas node and it appears here.
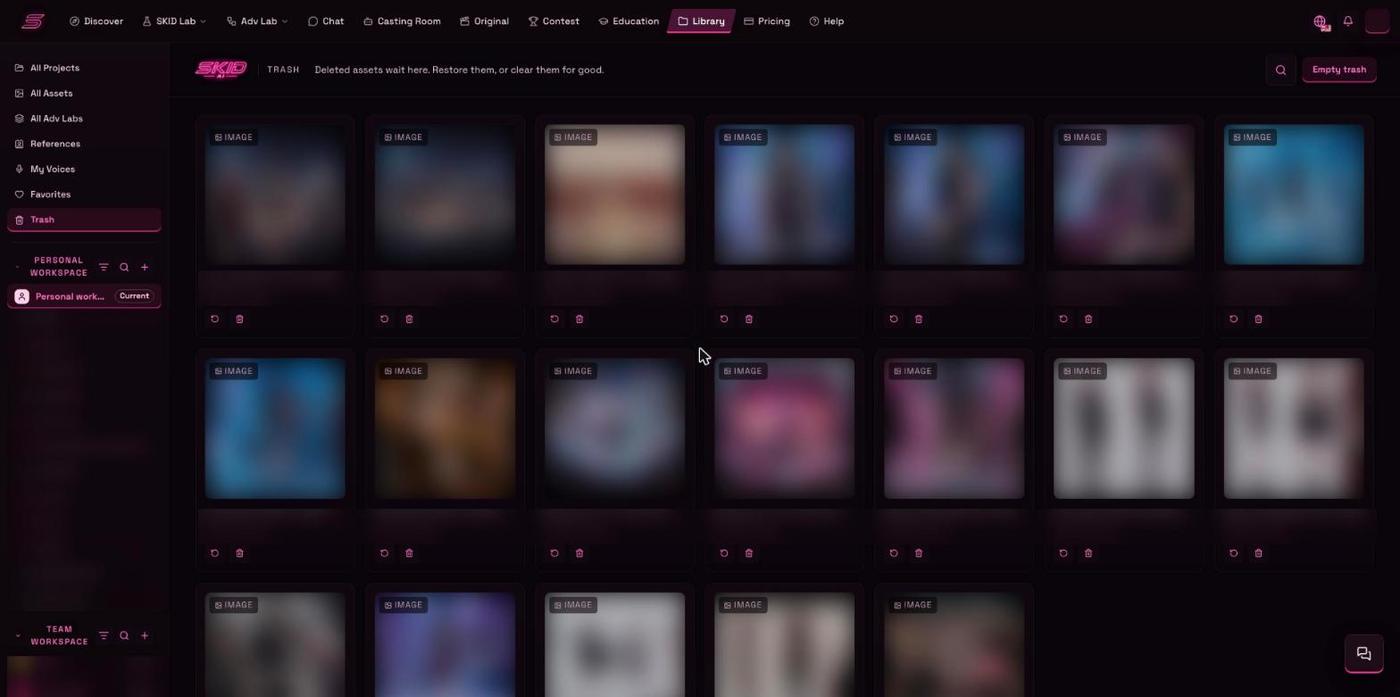
- In Trash, deleted assets are kept. Each item has a restore button and a delete-forever button.
- 'Empty trash' at the top right removes everything for good. It cannot be undone, so check first.
Phantom Flow
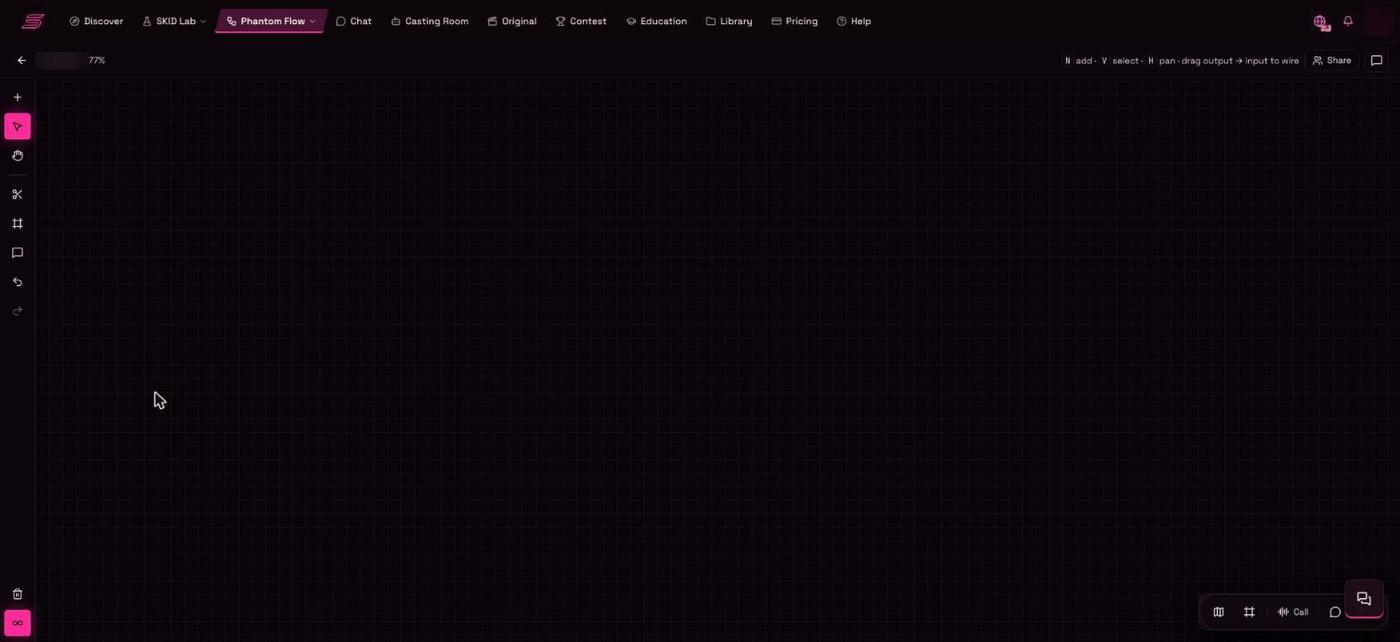
Build images and videos on an infinite canvas (Beta). Connect nodes with wires to describe one production flow.
- On the list screen filter by All labs, Starred, My labs and Shared labs, and organize with folders and the + button.
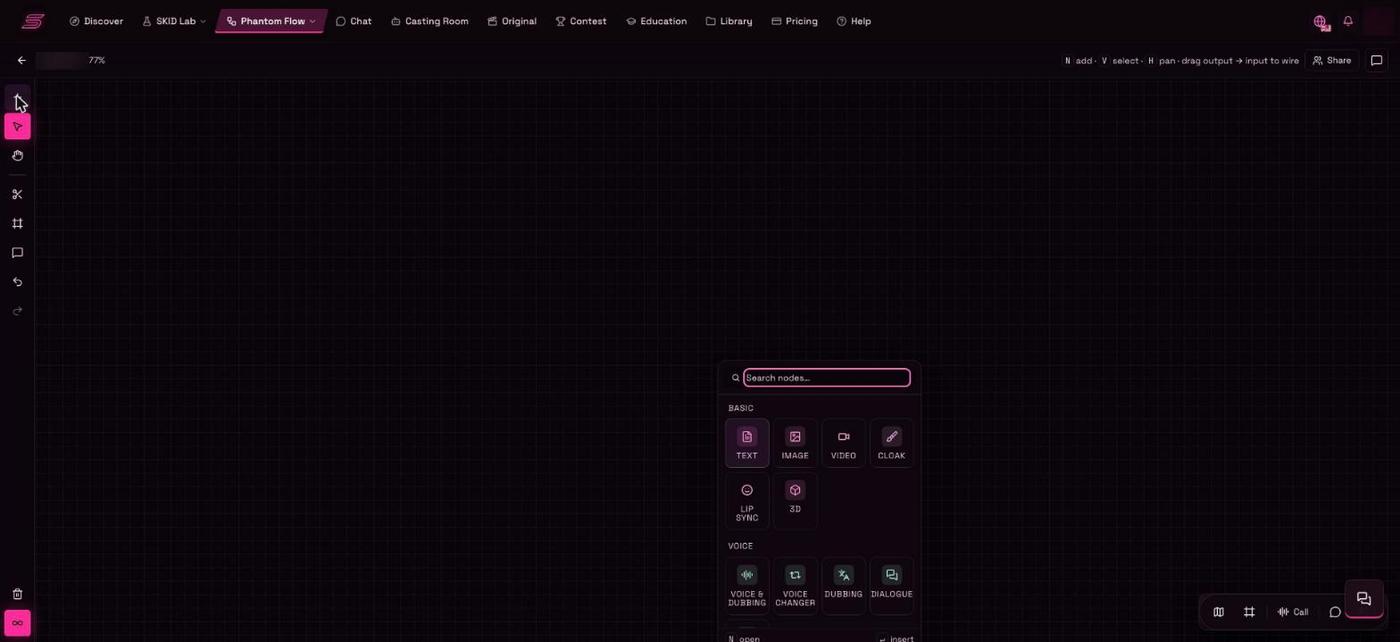
- Left tools of the canvas: add node (+), select (V), pan (H), cut, frame, comment, undo, redo and trash.
- Open the node palette with + or the N key. Basic: Text, Image, Video, Cloak, Lip Sync, 3D. Voice: Voice & Dubbing, Voice Changer, Dubbing, Dialogue and more. Use the search box to find nodes.
- Drag a node's output onto another node's input to wire them together.
- The bottom bar opens the minimap, frames, Call (voice call) and chat.
- Share the project with Share at the top right.
Phantom Wave
Arrange, trim and mix your songs and sounds on a multitrack timeline (Beta).
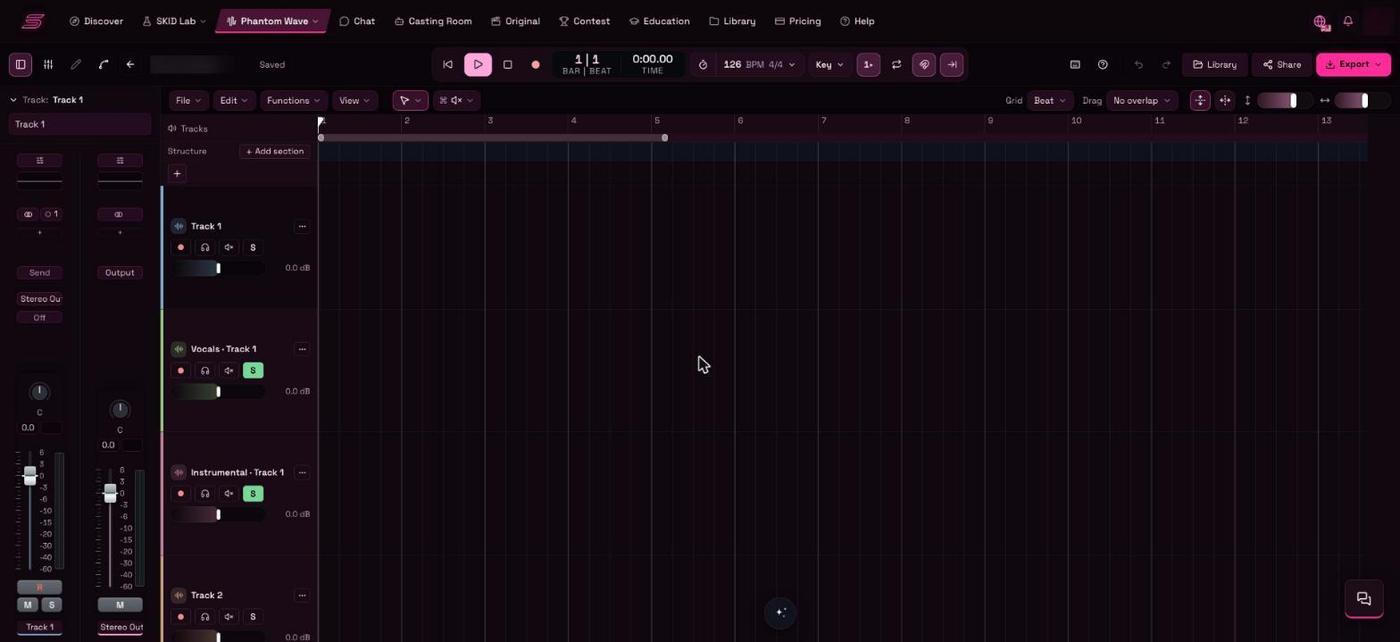
- Use the mixer on the left for per-track volume, pan, mute (M) and solo (S).
- Each timeline track has record, monitor, mute and solo buttons and a volume slider. Split a song into parts with '+ Add section'.
- At the top center play, stop and record, and set BPM, time signature and Key. Grid and Drag options control how you edit.
- File menu: Save, Import audio, Export mixdown (WAV), Export loop range, Export tracks (ZIP), Save mix to library, Back to projects.
- Functions menu: Mute clip, Loop, Reverse, Clear fades, Reset pitch, Reset volume, Rename. They turn on when a clip is selected.
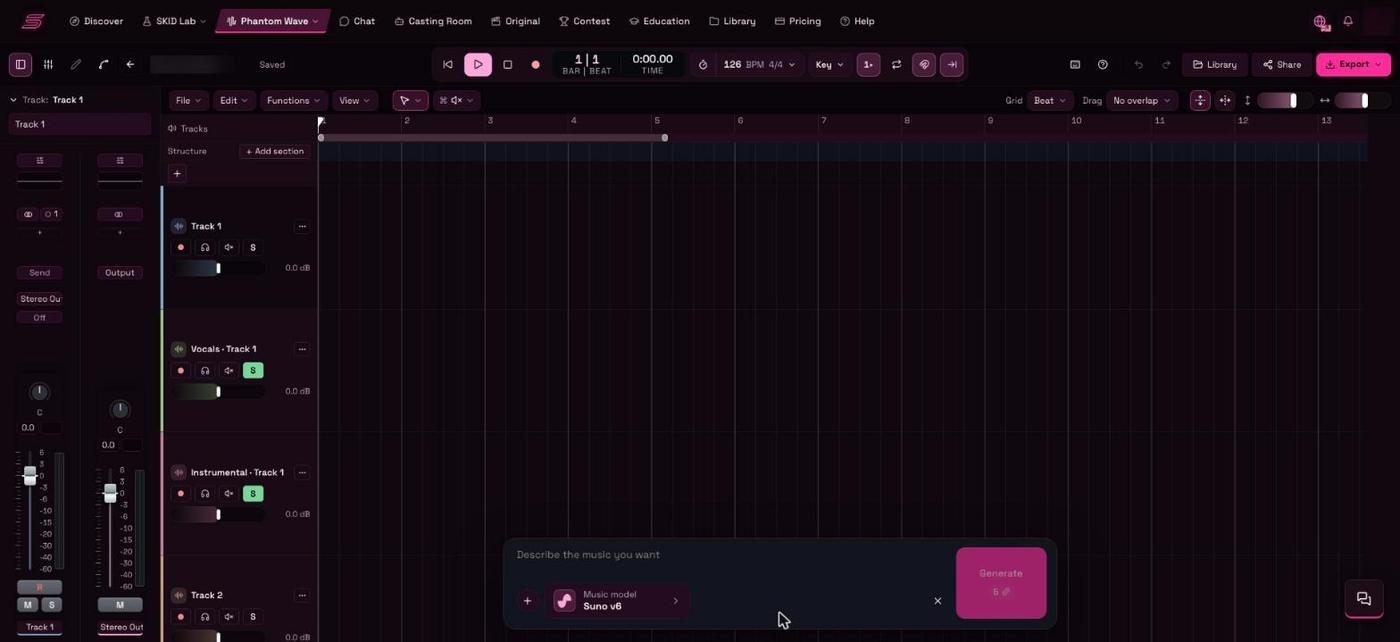
- The sparkle button at the bottom opens the AI bar: describe the music you want and press Generate.
- Library, Share and Export at the top right bring in sounds, share and export your mix.
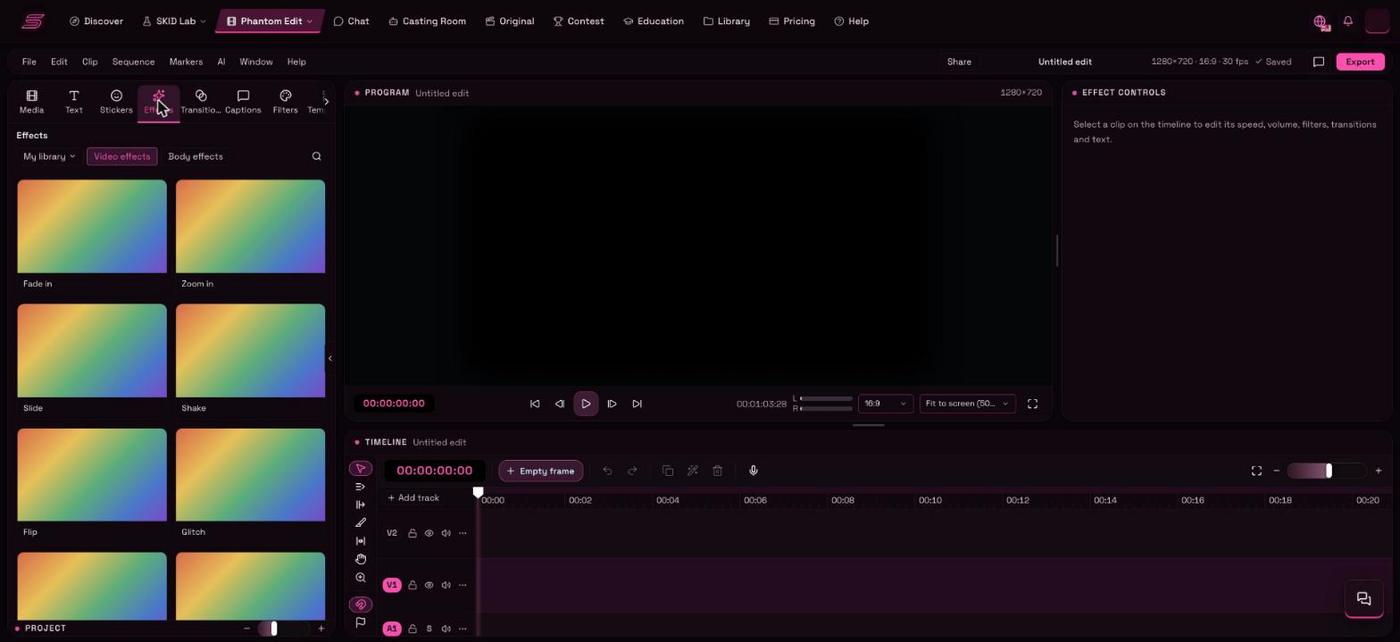
Phantom Edit
Cut, arrange and polish your videos on a timeline (Beta). Project settings such as 1280×720, 16:9 and 30 fps are shown at the top.
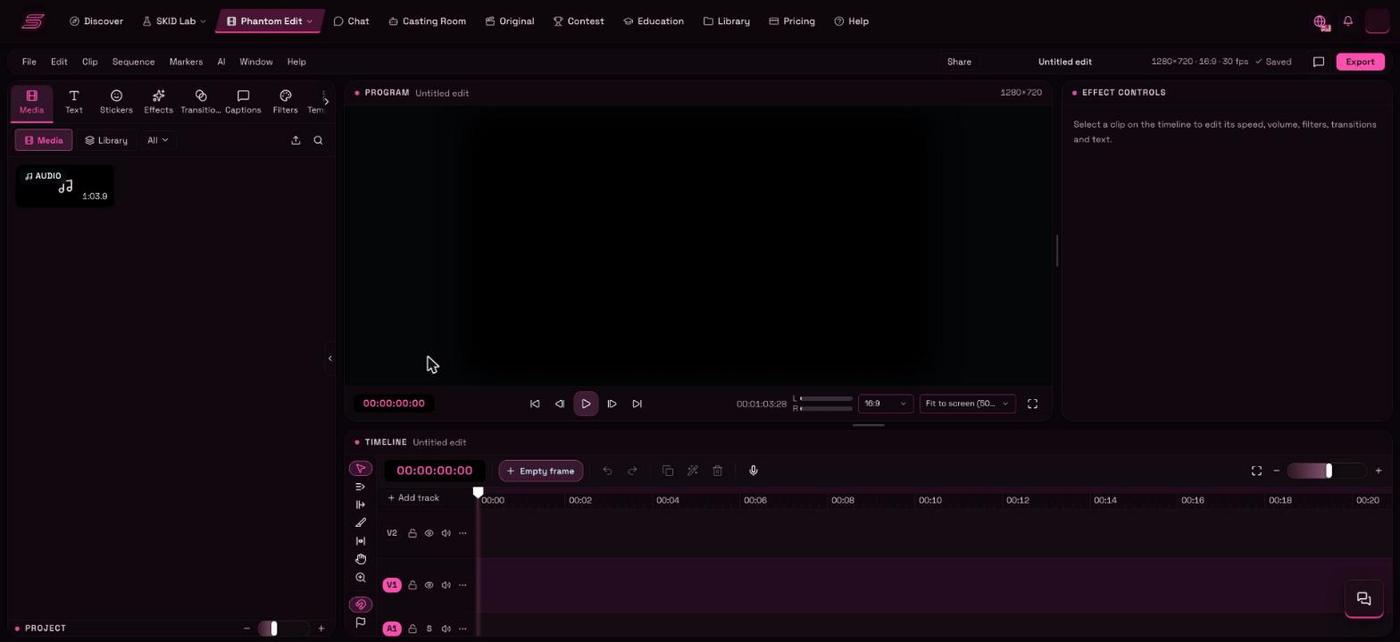
- Left tabs: Media, Text, Stickers, Effects, Transitions, Captions, Filters, Templates.
- Media: upload video and audio or bring them in from Library.
- Effects: choose Video effects (Fade in, Zoom in, Slide, Shake, Flip, Glitch and more) or Body effects.
- Captions: Auto captions, Templates, Auto lyrics and Add captions (import SRT, VTT, LRC, ASS).
- Play in the Program preview. Effect Controls on the right edits speed, volume, filters, transitions and text of the selected clip.
- On the timeline place clips on V2 and V1 (video) and A1 (audio) tracks and add more with '+ Add track'.
- Menus: File, Edit, Clip, Sequence, Markers, AI, Window, Help. The AI menu has Add Empty Frame, Generate in Selected Empty Frame, Extend with AI, AI Panel and AI Chat Editor.
- Share and Export at the top right share and export your video.
Original
Watch original series made by SKID with AI. Sign in and watch right away.
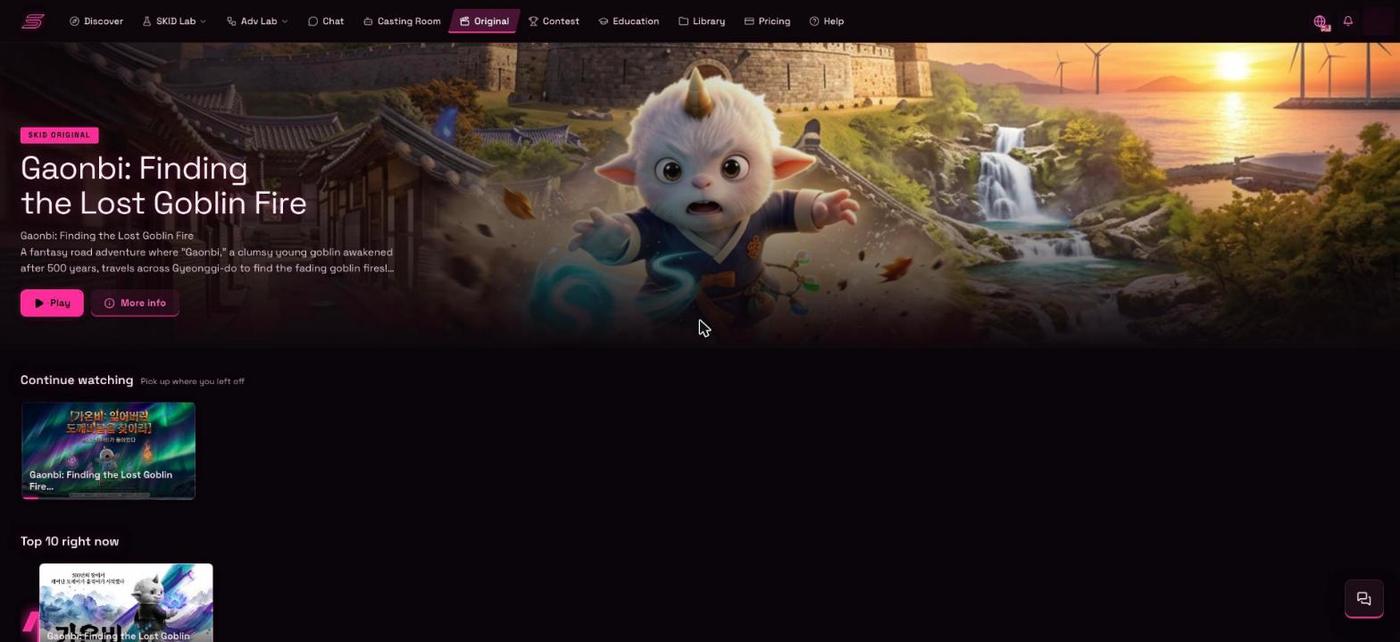
- Click Play or More info on the featured title. Continue watching and Top 10 right now are below.
- News also appears on the What's new screen.
Contests
Enter contests made for SKID creators, vote for your favorites and win prizes. Every entry is made with SKID.
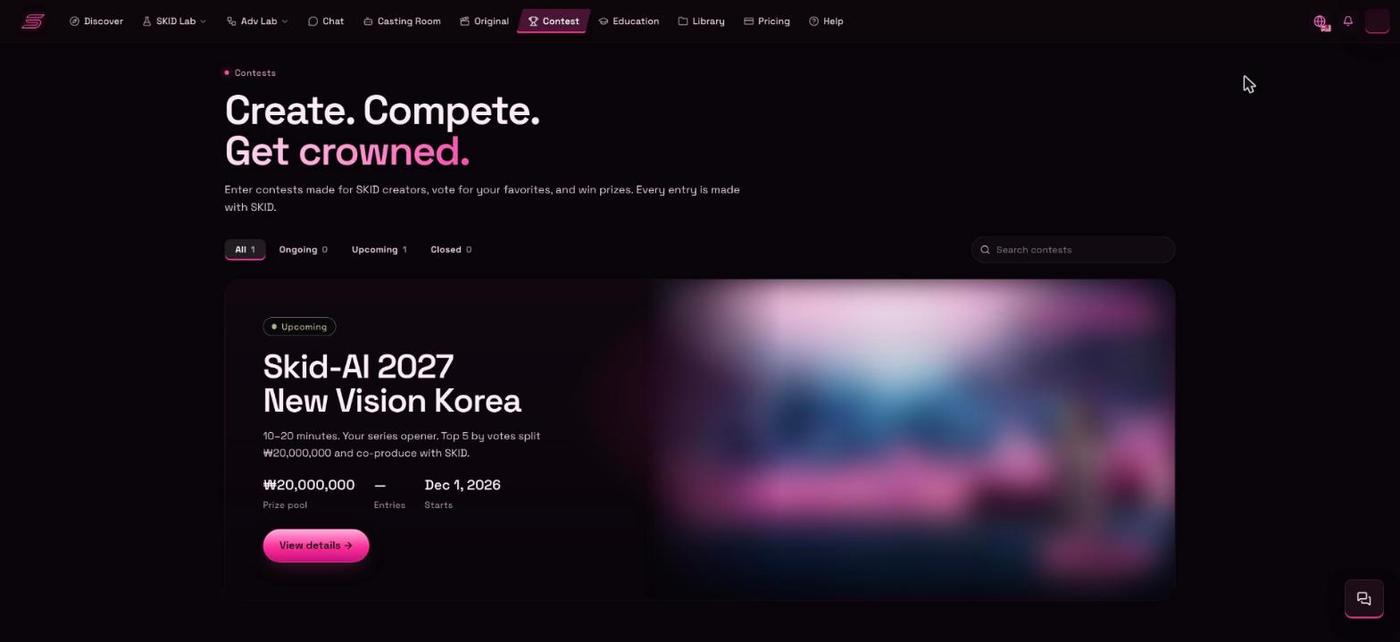
- Filter by All, Ongoing, Upcoming and Closed, or search contests.
- 'View details' shows the prize pool, schedule and how to enter.
- Example: 'Skid-AI 2027 New Vision Korea' has a ₩20,000,000 prize pool and starts on Dec 1, 2026.
What's new
Updates, new AI engines, events, education, originals and contests in one place.
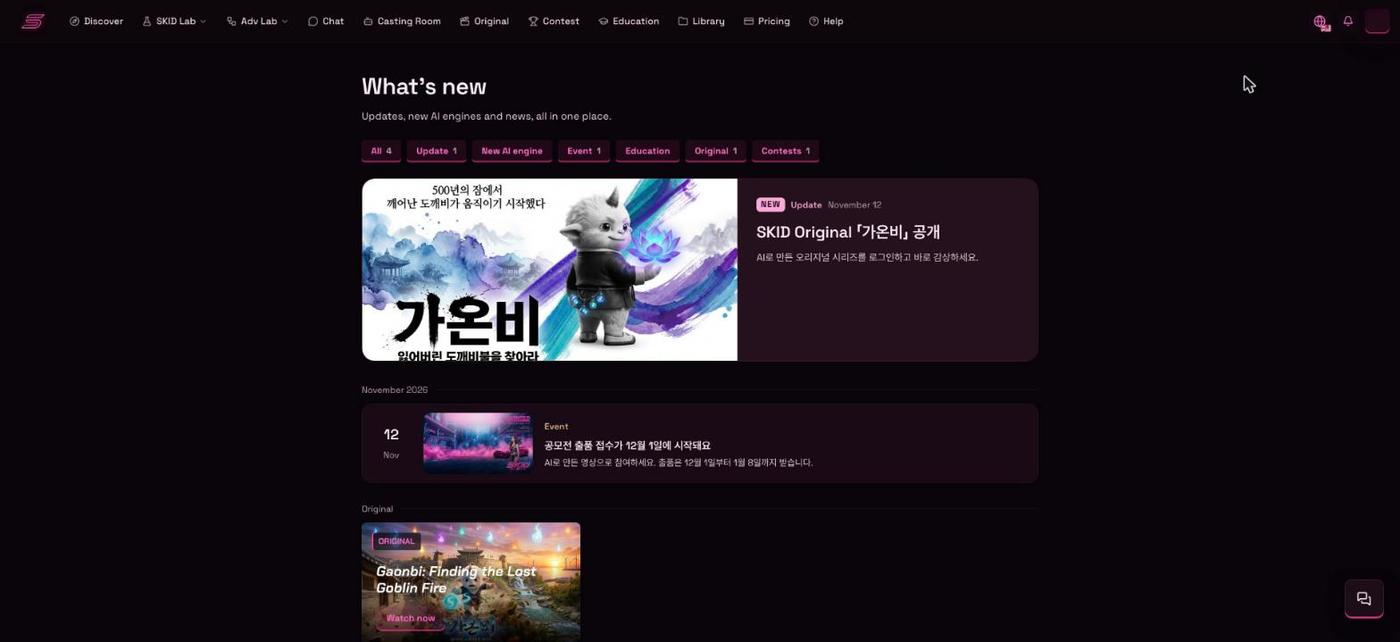
- Filter by category with the chips at the top.
- The large card is the latest news. Older news is listed by date below.
Education and Help
Video guides and written tutorials will be gathered here. The first guides are on their way, and the Help menu opens this screen as well.
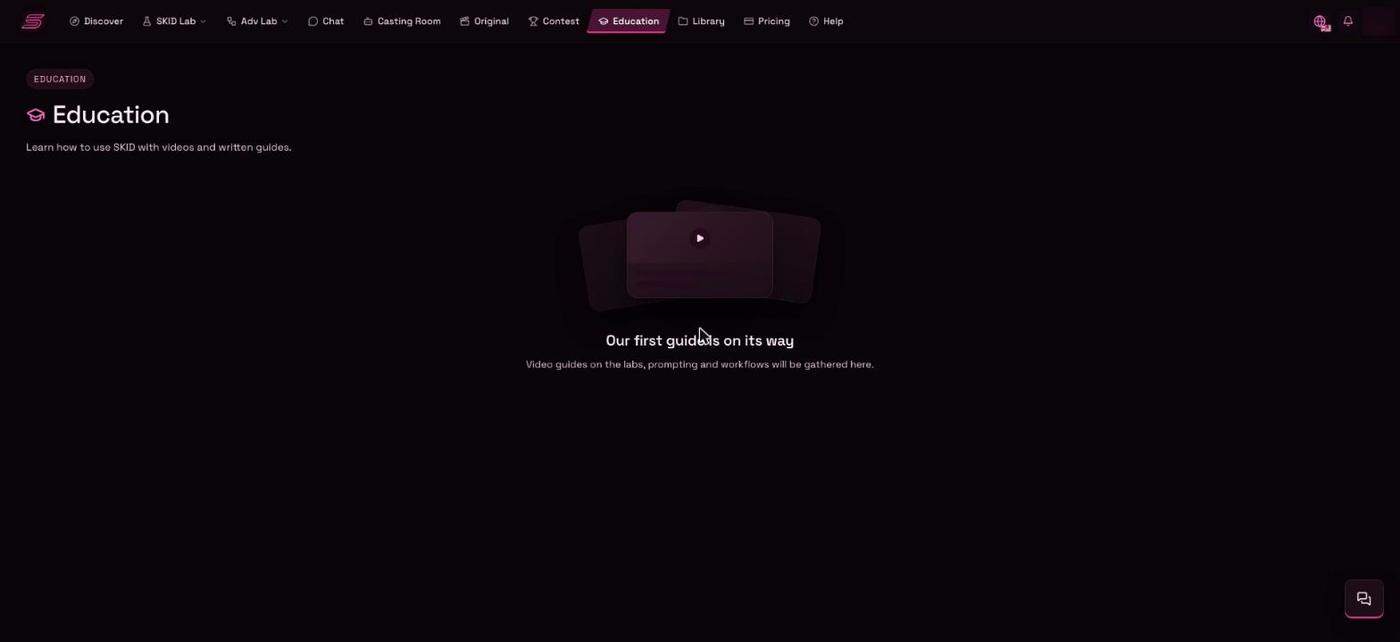
- For help, use the chat button at the bottom right of the app.
Plans & credits
Choose a higher plan for higher limits or add extra credits. Switch between Monthly and Annual (20% off) at the top right.
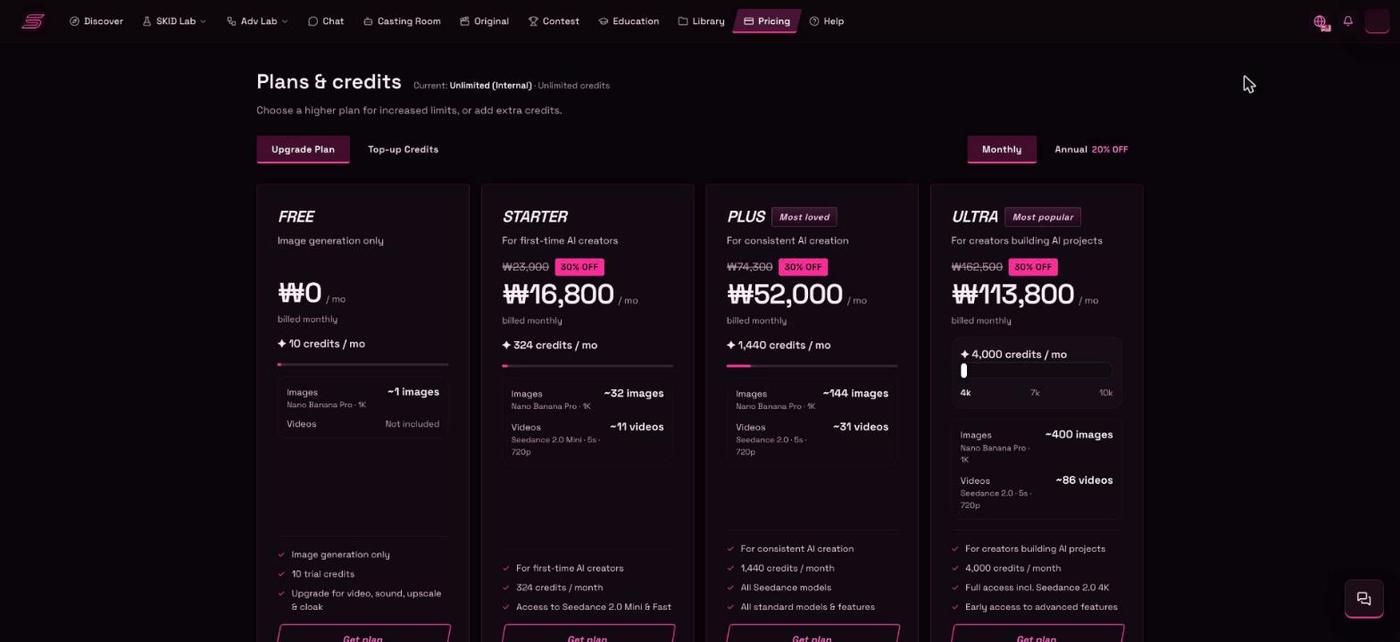
- On the 'Upgrade Plan' tab compare plans and press 'Get plan' to pay.
- Ultra uses a slider to choose monthly credits (4k, 7k, 10k).
- The 'Top-up Credits' tab lets you buy credits on their own.
- Recurring billing is by card only.
| Plan | Monthly price (discounted) | Credits / month | Images / videos (approx.) |
|---|---|---|---|
| Free | ₩0 | 10 | ~1 image / no video |
| Starter | ₩16,800 | 324 | ~32 images / ~11 videos |
| Plus | ₩52,000 | 1,440 | ~144 images / ~31 videos |
| Ultra (4k) | ₩113,800 | 4,000 | ~400 images / ~86 videos |
Top-up credits
Buy only the credits you need when your plan credits run low. The bigger the pack, the lower the price per credit.
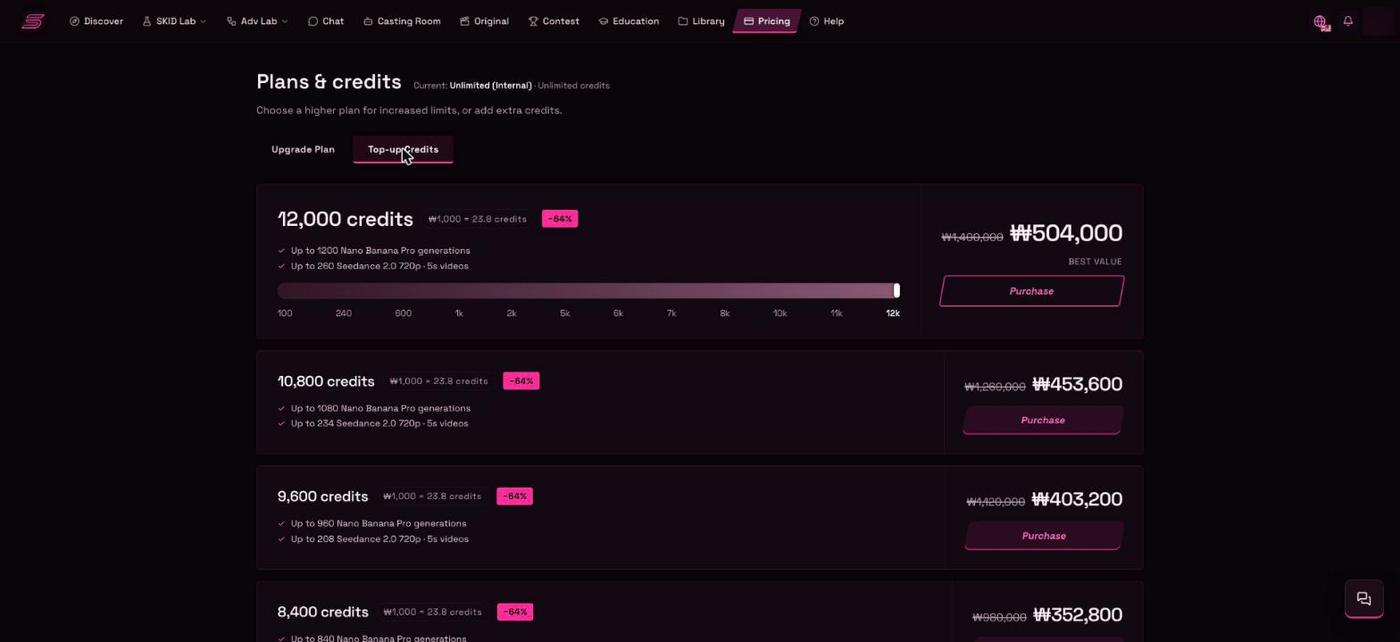
- Choose an amount with the slider (100 to 12k credits).
- Each card shows how many images and videos the credits can make.
- Press 'Purchase' to pay.
| Pack | Price |
|---|---|
| 12,000 credits | ₩504,000 |
| 10,800 credits | ₩453,600 |
| 9,600 credits | ₩403,200 |
| 8,400 credits | ₩352,800 |
Settings · Account
Manage your identity, connections, usage, subscription, billing and team. Open it from the profile icon at the top right.
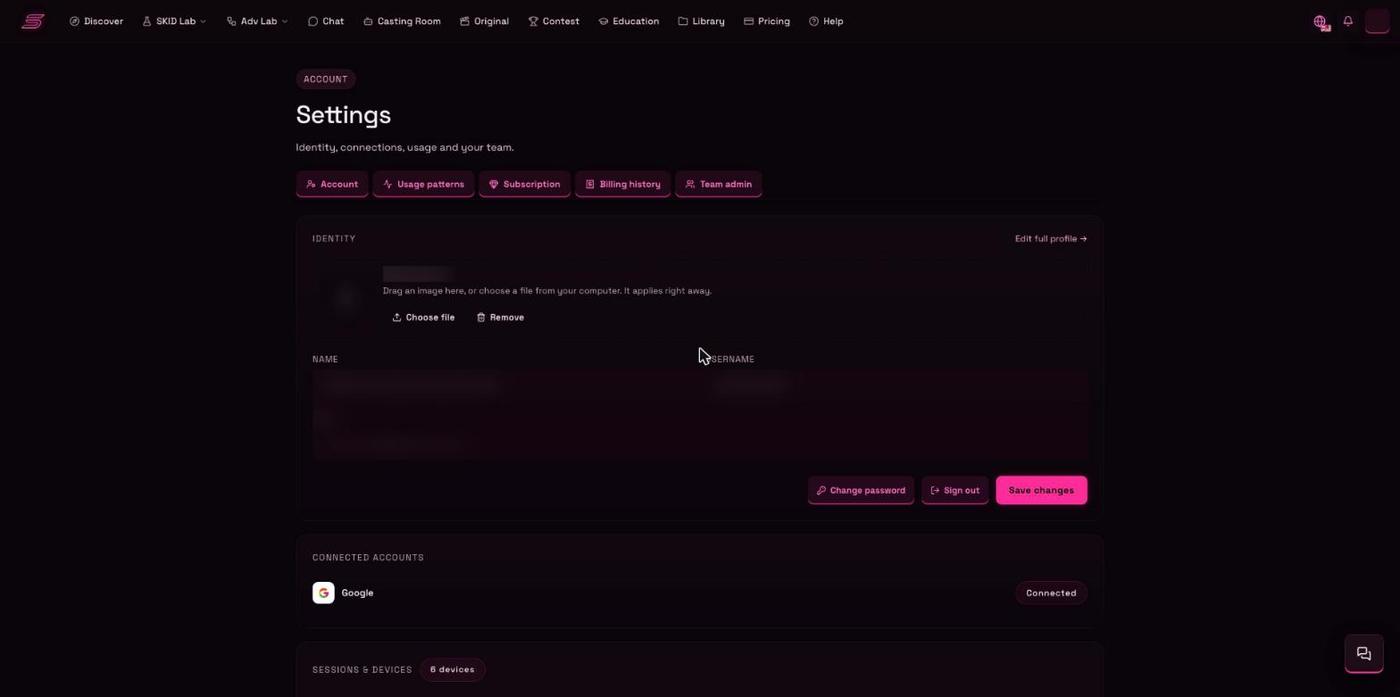
- Change your profile picture by dropping an image or choosing a file.
- Edit your name and username, then press 'Save changes'.
- Use 'Change password' and 'Sign out'.
- Check which accounts (for example Google) are connected.
Usage patterns
See this month's credit spend and how it changes over time.
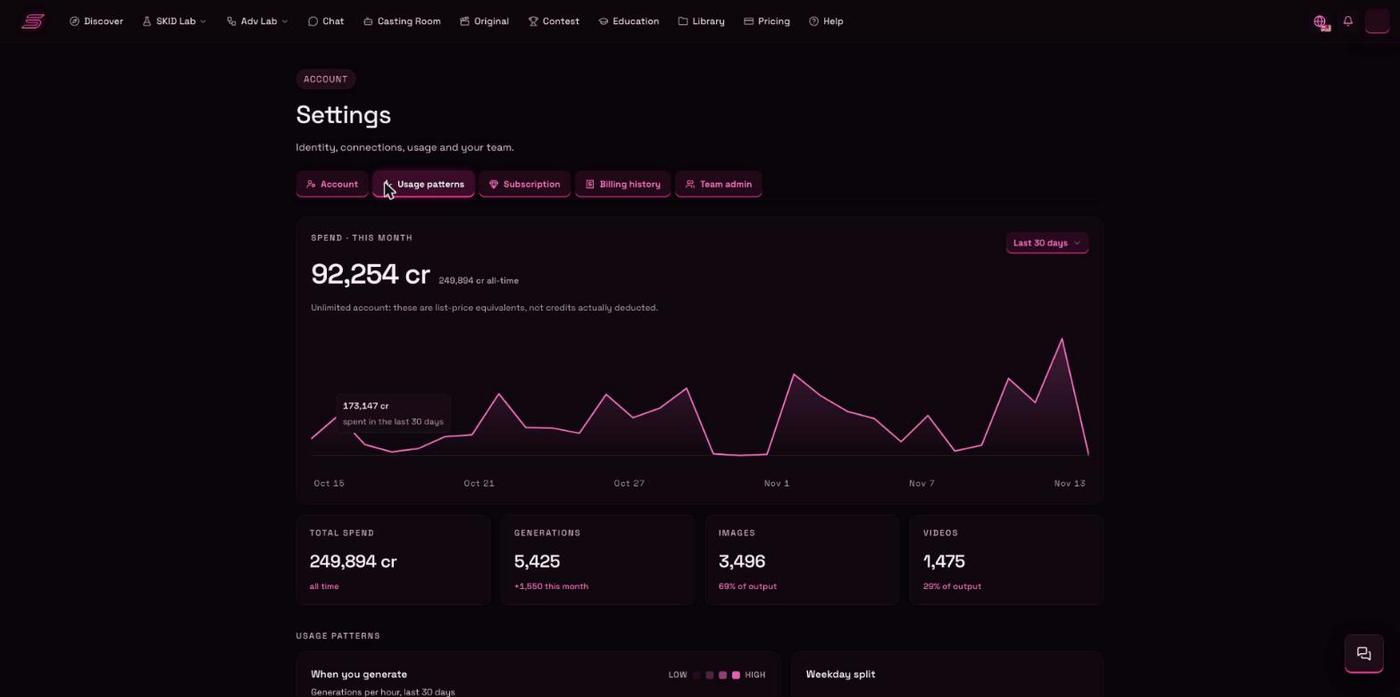
- Change the period (for example Last 30 days) at the top right.
- Cards show total spend, generations, and the images and videos split.
- Under 'Usage patterns' see when and what you generate most.
Subscription
Your current plan, remaining credits and this month's usage summary at a glance.
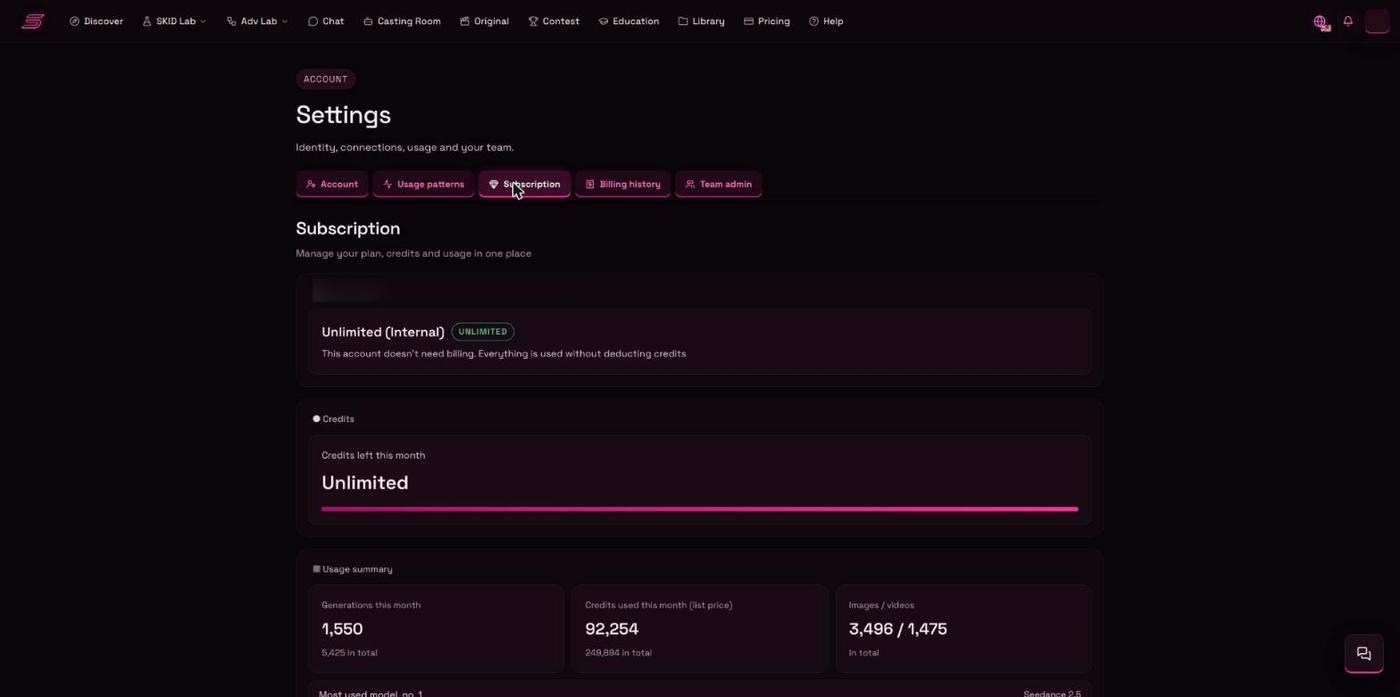
- The subscription card shows your plan and its status.
- The Credits card shows credits left this month and the progress bar.
- The usage summary shows generations, credits used and image/video counts.
Billing history
Manage your payment methods (cards) and review past payments.
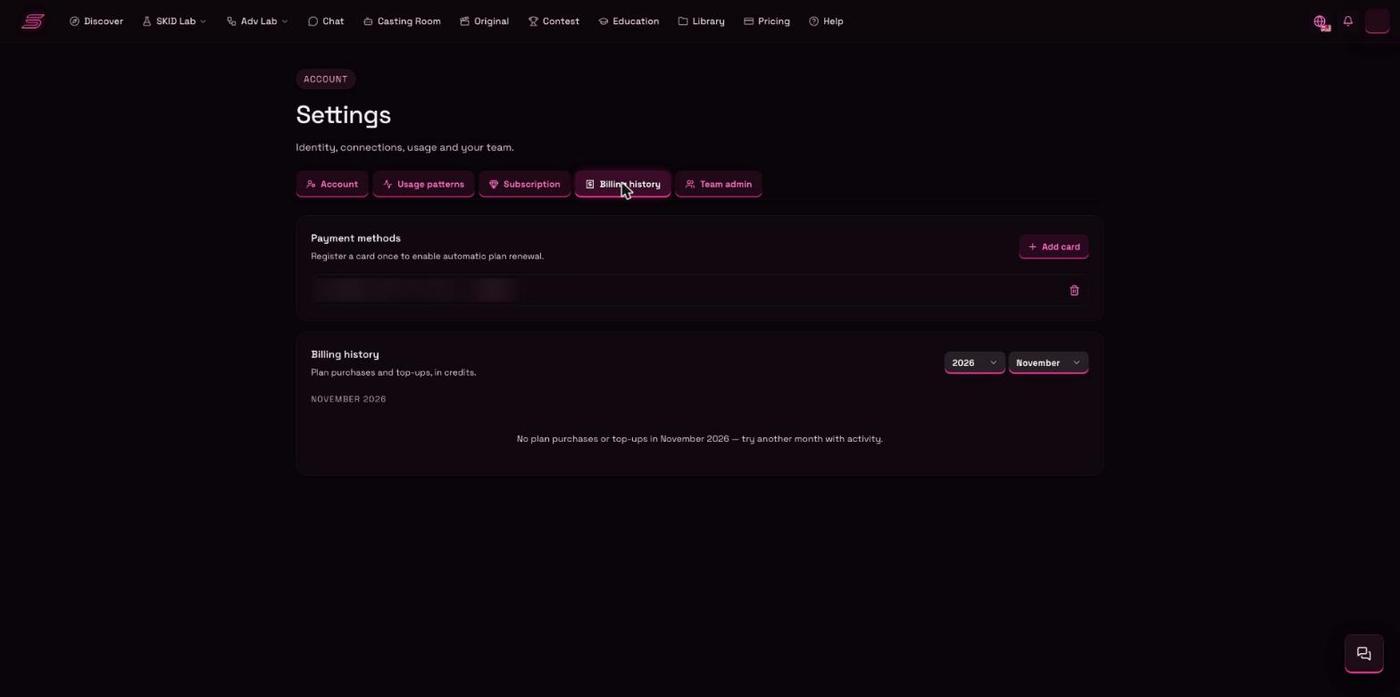
- 'Add card' registers a card. Register once to enable automatic plan renewal.
- The trash icon removes a card.
- Choose a year and month to see plan purchases and top-ups.
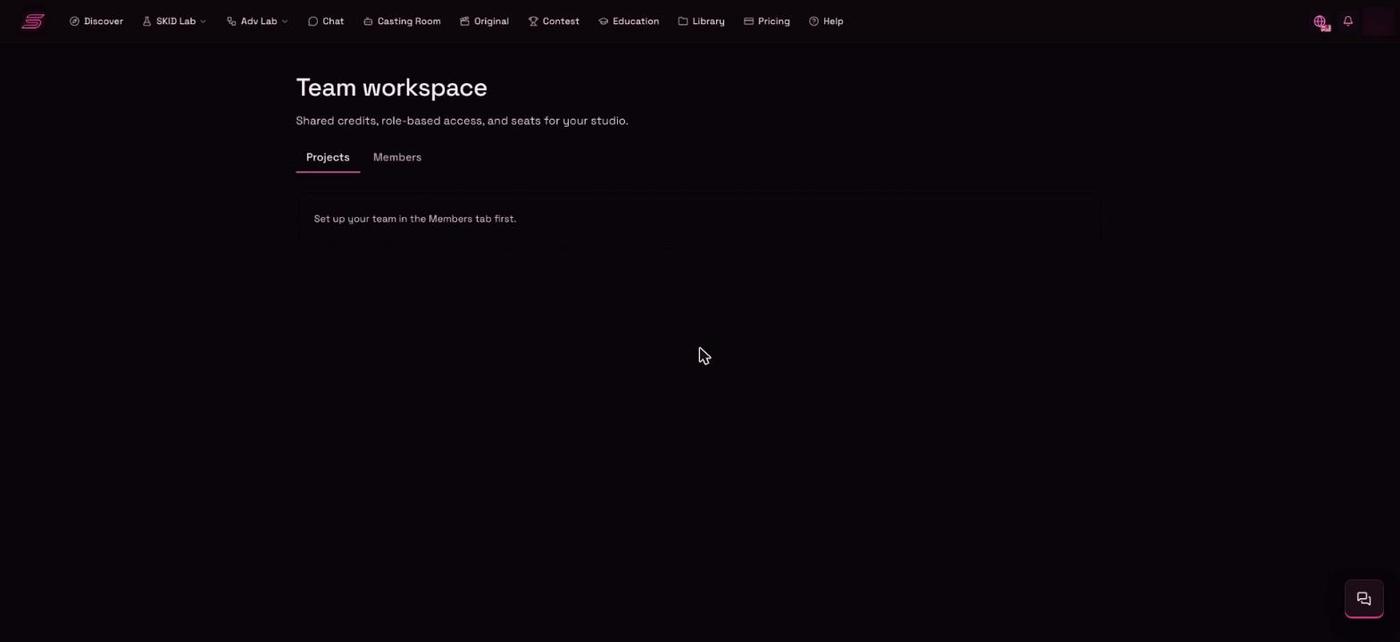
Team workspace
Create a team to invite members and manage seats and shared credits.
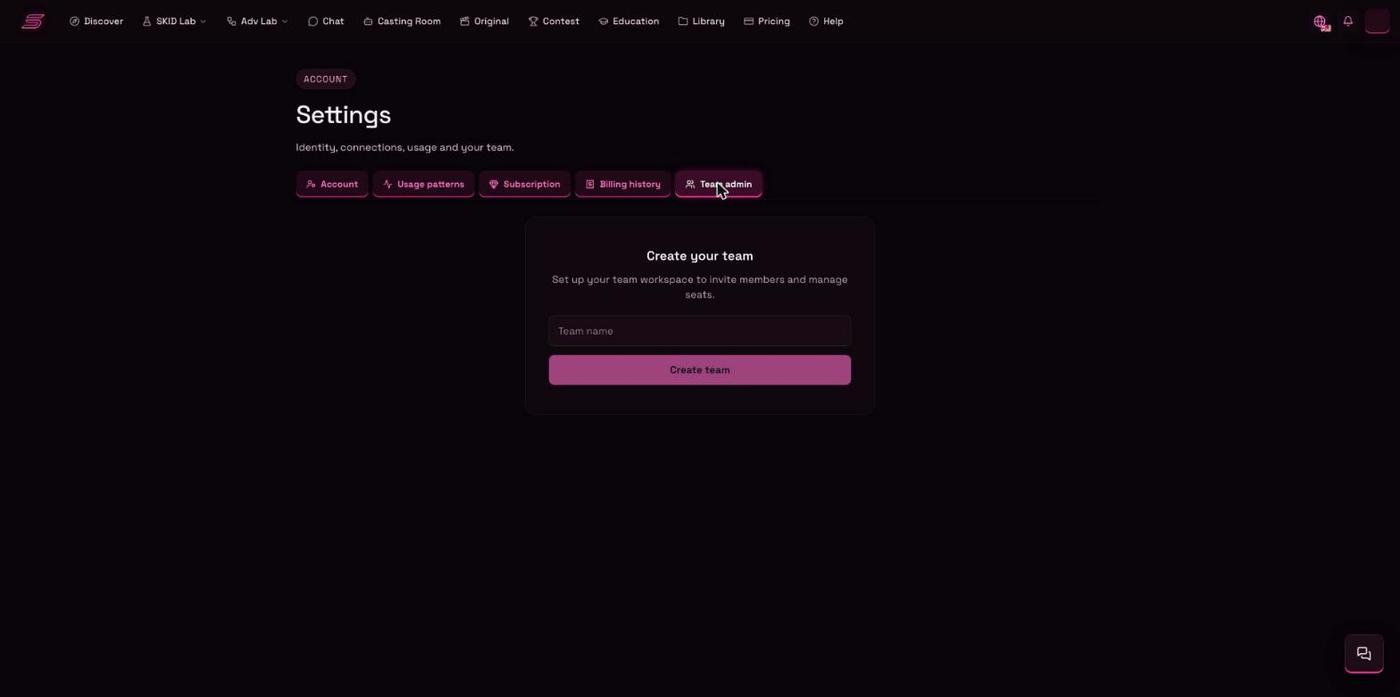
- On the 'Team admin' tab enter a team name and press 'Create team'.
- Once created, invite members and set their roles.
- The Team workspace screen splits Projects and Members.
Referrals
When a friend joins with your referral link or promo code and buys credits for the first time, you receive 10% of the purchase back as credits, up to 100 credits.
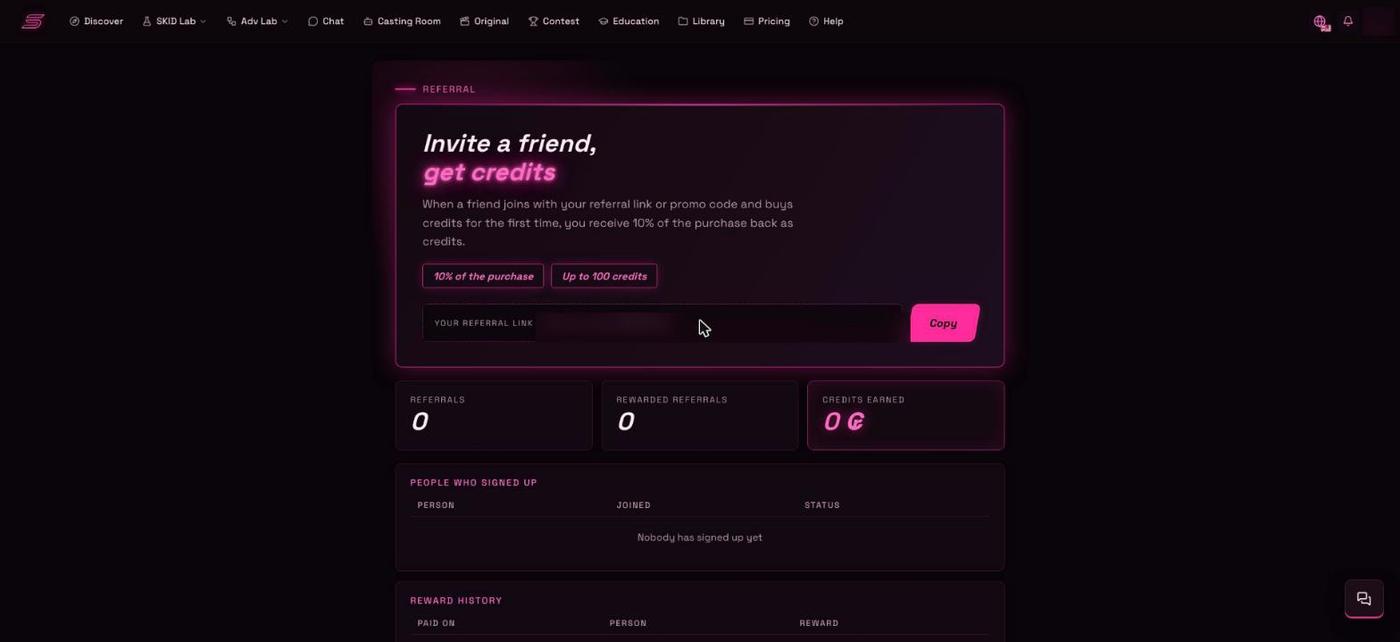
- Press 'Copy' to copy your referral link and send it to a friend.
- The cards at the top show referrals, rewarded referrals and credits earned.
- 'People who signed up' and 'Reward history' list the details.
Frequently asked questions
Yes. The Generate button in each lab shows the credits this job will use.
The subscription ends and your account moves to the Free plan. Check your card, then subscribe again from Pricing.
Free cannot use it. Starter and higher can.
Use the globe icon at the top right and choose English or 한국어.